Article
AI Filmmaking for Beginners (2026): The Pipeline From Script to Export
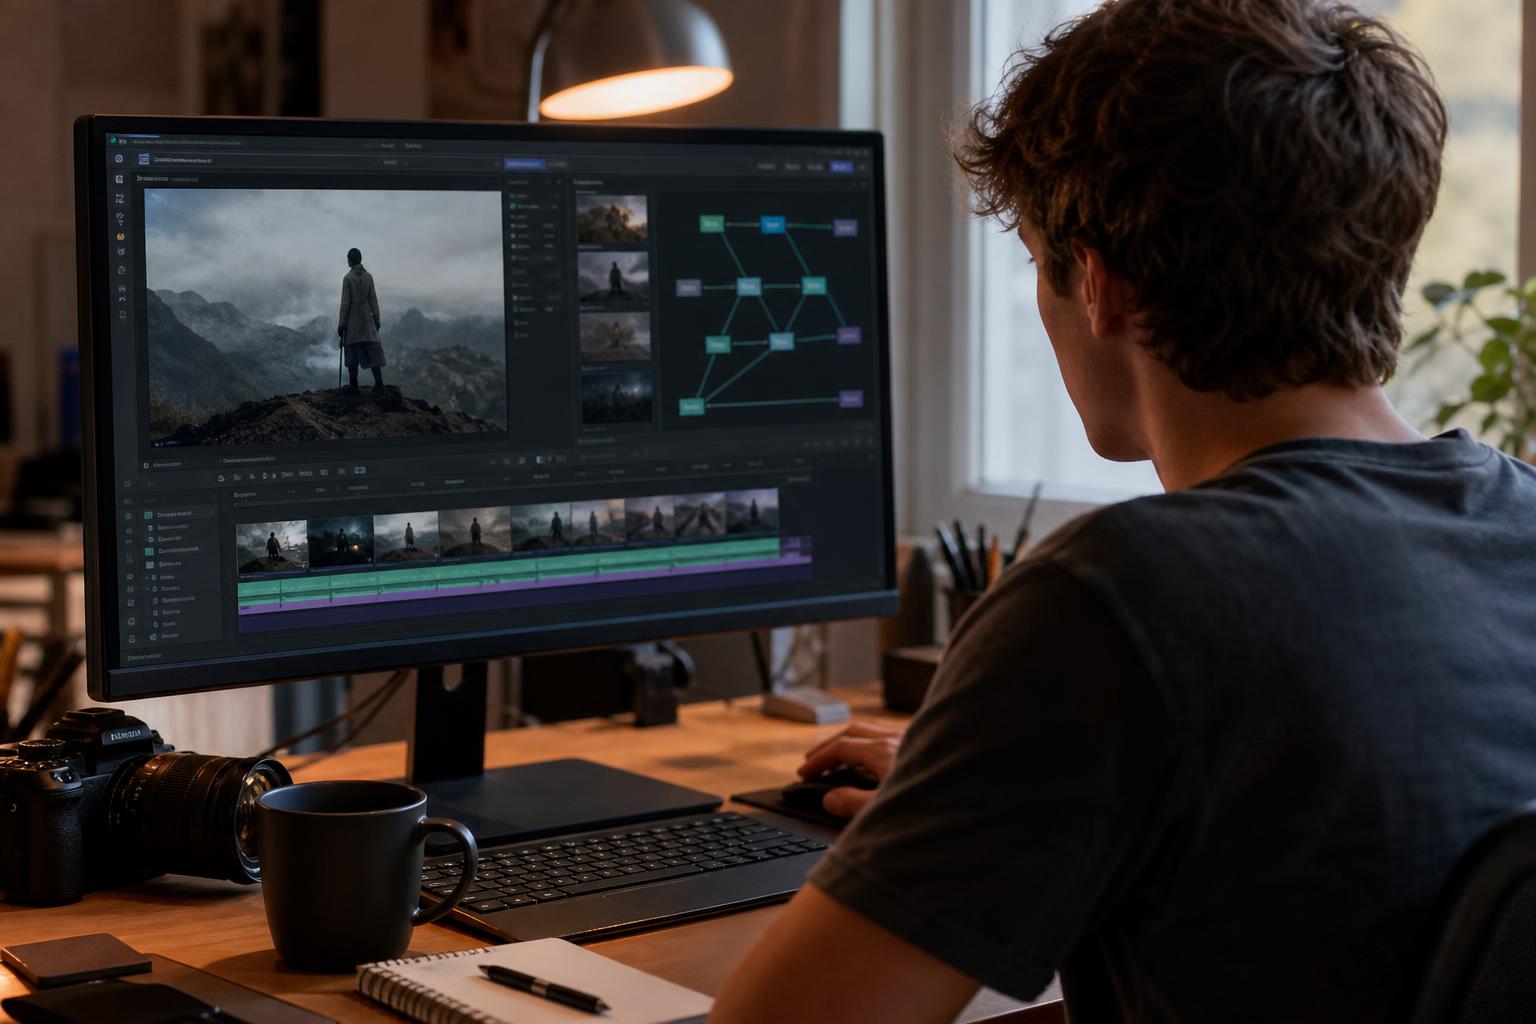
AI filmmaking for beginners can feel like a pile of unrelated tools: one to write, one to draw, one to animate, one to speak. In practice it is the same pipeline traditional filmmakers have always used, with AI helping at each stage. Once you understand the order of work (script, storyboard, visuals, voice, edit and export), you can pick one tool category per stage and finish a short film without drowning in subscriptions. This guide walks through every stage, explains what to look for in each type of tool, points out where beginners usually go wrong, and ends with a first-project plan. It is written for small-business owners, creators and curious newcomers anywhere in the world, so it avoids assumptions about local rules, currencies or equipment.
In this article
- Key takeaways
- How an AI video production workflow fits together
- Stage 1: AI scriptwriting you can actually film
- Stage 2: AI storyboarding and shot planning
- Stage 3: Creating visuals with AI film tools
- Stage 4: Voice, music and sound design
- Stages 5 and 6: Editing and exporting your AI film
- What AI filmmaking costs and which rules to check
- How to become an AI filmmaker: a first-project plan
- Conclusion
Key takeaways
- An AI video production workflow has six stages: script, storyboard, visuals, voice, edit and export. Finish each one before starting the next.
- Most AI video tools produce short clips, often a few seconds to roughly ten, so plan your film as many small shots rather than long takes.
- Consistency (the same face, outfit and style across shots) is the hardest beginner problem. Solve it with reference images and a written style sheet.
- Rights, disclosure and voice-consent rules differ between countries and platforms, so read the terms of every tool and platform you use.
- Your first film should be short, around 60 to 90 seconds, with one location and one or two characters.
How an AI video production workflow fits together
Before opening any tool, it helps to see the whole route. Beginners who jump straight to video generation usually end up with beautiful but unrelated clips that do not tell a story. A pipeline gives every clip a reason to exist.
The six stages at a glance
The table below summarises what you produce at each stage, the tool category that helps, and the mistake that most often costs beginners time.
| Stage | What you produce | Tool category | Common beginner mistake |
|---|---|---|---|
| 1. Script | A short screenplay or narration script | AI writing assistant (chat-style language model) | Accepting the first draft unchanged |
| 2. Storyboard | Shot list and rough frames | AI image generator, storyboard or spreadsheet tool | Skipping it and generating clips at random |
| 3. Visuals | Video clips for each shot | Text-to-video and image-to-video generators | Writing vague prompts and changing style every shot |
| 4. Voice and sound | Dialogue, narration, music, effects | Text-to-speech, voice tools, AI music and sound libraries | Ignoring consent and licence terms |
| 5. Edit | A cut with pacing, colour and sound mixed | Timeline video editor with AI assists | Letting every clip run to its full length |
| 6. Export | Final files for each destination | Export presets in your editor | Using one setting for every platform |
Why the order matters
Every stage shapes the next. A script written with no thought for what AI can show leads to shots that fail. A storyboard with no character reference leads to a hero whose face changes every cut. Fixing a problem at the script stage costs minutes; fixing it at the edit stage can mean regenerating dozens of clips.
Choose tool categories, not brands
AI film tools change quickly: features move between products, and names, limits and terms are updated often. Rather than memorising brands, learn what each category does and what to compare: output length, resolution, how well it follows reference images, commercial-use terms, and whether you can export your work easily. That knowledge stays useful when the tools change.
Stage 1: AI scriptwriting you can actually film
AI scriptwriting is where most beginners start, and it is also where the biggest quality gains are found. A language model is a fast partner for structure and options, but it is a poor judge of what is interesting or what a video generator can show.
Start with a one-sentence premise
Write your premise yourself: who wants what, and what stands in the way. For example, "A shy shop owner finds a mysterious package that changes her morning routine." A clear premise stops the model drifting into generic plots. If you are making a film for a business, the premise might be a customer problem and its resolution rather than a fictional story.
Prompt for structure, not finished prose
Ask for options before drafts. A reliable sequence is:
- Ask for three possible beats lists (opening, turn, ending) for your premise.
- Choose one and ask for a scene-by-scene outline with a target running time.
- Write the dialogue or narration yourself, or ask the model for a rough draft and then rewrite it in your own voice.
- Ask the model to find weak spots, such as unclear motivation or repeated phrases.
Generic AI text is easy to spot. Our guide on how to use AI without sounding like AI covers editing habits that work for scripts as well as marketing copy.
Test the script against what AI can show
Read each line and ask, "Can a generator show this in under ten seconds?" Complex action, crowds, readable on-screen text and precise hand movements are still unreliable in many tools. Replace them with simpler images: a close-up, a silhouette, a door closing. If a script contains facts, such as statistics or historical claims, verify them independently; our article on checking AI output when you are not the expert shows how.
Stage 2: AI storyboarding and shot planning
AI storyboarding turns words into a visual plan. It is the cheapest place to make mistakes, so spend real time here.
From script to shot list
Break the script into shots, one row per shot, in a spreadsheet or document. Useful columns are shot number, description, camera framing (wide, medium, close-up), camera movement, approximate length in seconds, and the line of dialogue or narration that plays over it. Language models are good at producing a first shot list from a scene; you then trim it. Aim for shots of two to six seconds, because that matches what most generators produce well and keeps the film moving.
Rough frames, not final art
Use an image generator to make a still for each key shot. These are not the final film; they are a check on composition and mood. If three stills look like they come from three different films, fix that now by writing a shared style sentence (for example, "warm natural light, 35 mm film look, muted colours") and adding it to every prompt. Hand-drawn stick figures also work and are often faster for blocking.
Lock a character and style reference
Create one clear reference image per main character, ideally a front view and a three-quarter view in neutral light, and save a short written description of clothing and features. You will reuse these in the visuals stage. Treat this as a one-page style sheet: characters, locations, colour palette, lens look. It is the single most useful document in an AI film project.
Stage 3: Creating visuals with AI film tools
This is the stage that gets the attention, but it works best when the earlier stages are done. Here you turn the storyboard into moving clips.
Text-to-video vs image-to-video
Text-to-video generates a clip from a written prompt alone. It is quick for exploring ideas, but the look varies from clip to clip. Image-to-video animates a still image you supply, such as a storyboard frame, which gives you far more control over composition and character. For story work, beginners usually get better results starting from images and using text prompts mainly to describe motion and camera movement.
Keeping characters consistent
Faces and outfits drift between generations. Practical defences include using the same reference image every time, repeating an identical character description, keeping shots short, and choosing angles that hide difficult details, such as over-the-shoulder or silhouette shots. We explain these methods in more depth in how to keep the same face across AI video shots.
Plan for rejected clips
Expect to generate several versions of most shots and discard many. A useful habit is to log each shot with its prompt, the reference image used and a pass or fail note. When something works, you can reproduce its recipe. Name files by shot number (for example, S014_v03) so the edit stage is not a search through a downloads folder. Also keep a few "cutaway" clips, such as hands, objects or landscapes, which are easier to generate and help cover weak shots.
Stage 4: Voice, music and sound design
Audio carries more of the viewer's emotional experience than most beginners expect. A mediocre image with good sound feels better than a perfect image with poor sound.
Voice tools and dialogue
Text-to-speech tools turn your script into spoken audio and often offer many voices, accents and languages. For narration they can be convincing; for emotional dialogue they often need careful direction, such as shorter sentences, punctuation to control pauses and several takes. Voice-changing and lip-sync tools can match speech to a character's mouth, but results vary, so test on a single shot first. You can also record your own voice, which is free of synthetic-voice concerns and often sounds more natural.
Music and sound effects
AI music generators and licensed sound libraries both work. Choose music with no vocals under dialogue, and add small effects (footsteps, room tone, doors) because AI video clips are silent or have generic sound. Room tone, a faint background sound for each location, glues clips together more than any visual fix.
Consent and licensing for voices
Do not clone or imitate a real person's voice without their clear permission. Laws on voice and likeness rights differ widely between countries and regions, and platforms set their own rules. Check each tool's terms for commercial use, and keep a simple record of where each voice, track and sound came from.
Stages 5 and 6: Editing and exporting your AI film
Editing is where separate clips become a film. Exporting is where it becomes something other people can watch.
Assemble in a timeline editor
Use a standard timeline editor, either desktop or browser-based. Many include AI assists such as automatic captions, noise removal and scene detection. Import clips in storyboard order, lay down the voice track first, then cut visuals to match the speech. Trim each clip to its best two to four seconds; most AI clips are strongest in the middle, with weak starts and endings.
Fix the seams
Small corrections make a big difference:
- Apply one colour grade across all clips so they look as if they belong together.
- Add room tone and crossfade audio at cuts.
- Use quick cuts, dissolves or cutaways to hide small visual glitches.
- Add subtle film grain over everything to unify differing textures.
- Watch the film once with the sound off, then once with your eyes closed.
Export settings by destination
Settings depend on where the film will be shown. Frame rates also differ by region: 24 frames per second is the common cinematic standard, while broadcast traditions use 25 fps in many countries and about 30 fps in others. Choose one frame rate for the whole project and stick to it. The table is a starting point only; always check the current guidance of your platform.
| Destination | Typical aspect ratio | Typical resolution | Notes |
|---|---|---|---|
| Landscape video sites | 16:9 | 1920 x 1080 (Full HD) or higher | Widely supported; MP4 with H.264 is the safe default |
| Short vertical feeds | 9:16 | 1080 x 1920 | Keep key action in the centre; leave space for interface overlays |
| Website embed | 16:9 or 1:1 | 1280 x 720 or 1920 x 1080 | Compress for faster loading on slower connections |
| Festival submission | Per festival rules | Often Full HD or 4K | Read the rules on AI disclosure and file format |
Keep a master export at the highest quality you have, and create smaller versions from it. Back up your project files, prompts and reference images together.
What AI filmmaking costs and which rules to check
Costs and rules vary by country, tool and platform, so this section is about what to examine rather than what to expect.
Where the effort and money go
Beginners often assume the cost sits in generation. In reality, a large share goes into rejected clips, repeated attempts and time. Many tools use credit or usage limits, and plans change often, so check each provider's current terms. For a deeper breakdown of the hidden costs, read what a short film made with AI video actually costs. The practical lesson is to plan shots carefully and keep your first film short.
Rights, disclosure and consent
Three questions apply everywhere, even though the answers differ by place:
- Ownership: Can you use the output commercially, and does copyright law in your country recognise AI-assisted work? Rules are still developing in many regions.
- Disclosure: Do the platform, festival or your local regulator require you to label AI-generated or synthetic content? Some do.
- Likeness: Do you have permission from any real person whose face, voice or style you are imitating?
If a film is for paid client work, ask a qualified professional in your own jurisdiction about contracts and rights. This article is general education, not legal advice.
Privacy when you upload material
Uploading photos of staff, customers or family to a generator means sharing personal data with a third party. Read the provider's data and training policies first, and get consent from anyone pictured. Our guide on whether it is safe to put customer data into an AI tool offers a useful checklist.
How to become an AI filmmaker: a first-project plan
If you are wondering how to become an AI filmmaker, the honest answer is to finish small films, review them critically and repeat. Skill comes from completed projects, not from collecting tools.
A 14-day schedule
- Days 1-2: Write a premise and a one-page script of 150 to 250 words, enough for about 60 to 90 seconds.
- Days 3-4: Build a shot list of 12 to 20 shots and create a still frame for each key shot.
- Day 5: Make your style sheet and character references.
- Days 6-9: Generate clips, logging prompts and keeping the best two options per shot.
- Days 10-11: Record or generate the voice, then add music and room tone.
- Days 12-13: Edit, grade and mix.
- Day 14: Export, show it to two or three people and write down what confused them.
Learning with guided material
If you prefer structure to piecing it together from scattered videos, the AI Filmmaker Blueprint from My Business Growth Kit follows the same stage-by-stage logic, in the form of an ebook, audiobook, workflows and exercises, with AI tutor prompts to practise with. Everything is a digital download read or listened to in your online library, and nothing is shipped. See the product page for details and current payment options. The free blueprints and articles on this site are another way to start without committing to anything. No course, ours included, can promise a particular result; the practice is what builds skill.
Conclusion
AI filmmaking for beginners is easier when you treat it as a pipeline: script, storyboard, visuals, voice, edit and export, with one tool category for each stage. Plan in short shots, keep characters consistent with references, respect consent and licence terms, and finish a short first film before expanding. Tools will keep changing, but the order of work and the habit of reviewing each stage will stay useful.
Frequently asked questions
What is AI filmmaking?
AI filmmaking is making films where AI tools help with one or more stages, such as writing, storyboarding, generating video, creating voices, or editing. A human still decides the story, selects the best material and shapes the final cut.
Do I need film experience to start AI filmmaking?
No. Basic storytelling knowledge helps more than technical skill, and the pipeline of script, storyboard, visuals, voice, edit and export gives a beginner a clear order of work. Start with a 60 to 90 second film to learn the process.
What tools do I need to make a short film with AI?
You need five tool categories: an AI writing assistant, an image generator for storyboards, a text-to-video or image-to-video generator, a voice or audio tool, and a timeline video editor. Compare current features and licence terms before choosing, because products change often.
How long can an AI-generated video clip be?
Most tools generate clips of a few seconds up to around ten seconds, though limits vary by product and change over time. Long scenes are built by cutting several short clips together in an editor.
How do I keep the same character across AI video shots?
Use the same reference image and the same written character description for every shot, keep clips short, and choose angles that hide difficult details. Some tools have dedicated character-reference features, so check what yours offers.
Can I use AI-generated films commercially?
It depends on the tool's terms, the platform you publish on, and the laws of your country. Check each provider's commercial-use terms, keep records of what you used, and take professional advice for paid client work.
Do I have to tell viewers my film was made with AI?
Requirements vary. Some platforms, festivals and regions require labels for AI-generated or synthetic content, and others do not. Check the current rules wherever you publish, and consider disclosing anyway as a matter of trust.
How long does it take to learn AI filmmaking?
You can finish a simple short film in about two weeks following a structured plan. Building real skill takes repeated projects and honest review, and the time varies from person to person.